


The herringbone stitch exists in several versions, among others:
- a flat version,
- a tubular version and
- a twisted tubular version
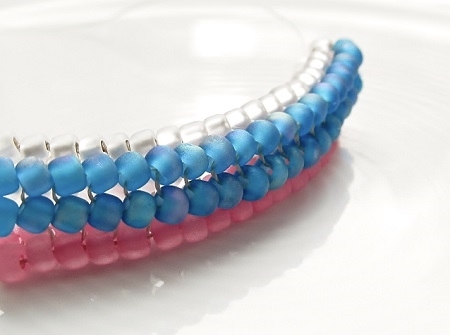
and results in a sleek fish bone shaped pattern.
Traditionally, the tubular herringbone is build with an even number of beads, which may be increased and decreased, on a base round in ladder stitch. A necklace in herringbone weave can be worn as it is, be decorated or hold a pendant. The stitch is supple enough to be used for a bracelet or bangle and is fairly quickly created.
Challenge:
Although it is a relatively easy stitch, you need to pay special attention to the step-up and control the thread tension.
Supplies for the tubular herringbone stitch:
- 8/0 beads or 3x3 mm fire-polished beads in 3 colors: color A, color B and color C
- needle, thread and scissors
- toggle and beading mat.
Weaving instructions for the regular tubular herringbone weave:
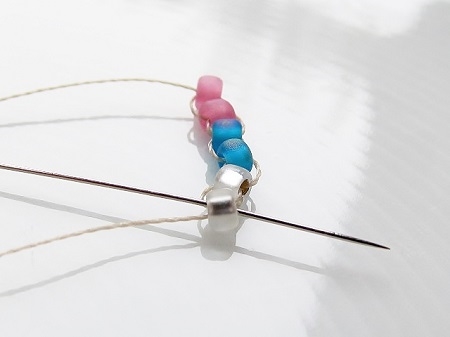
- for starters, take a generous length of thread and create a foundation in ladder stitch in the following colors: 2x color A, 2x color B and 2x color C
- if needed, you find the instructions of the ladder stitch @ https://dunebeads.com/en/learn-and-create-the-flat-brick-stitch-on-a-foundation-of-ladder-stitch-part-1
- foresee a +/- 15 cm tail thread
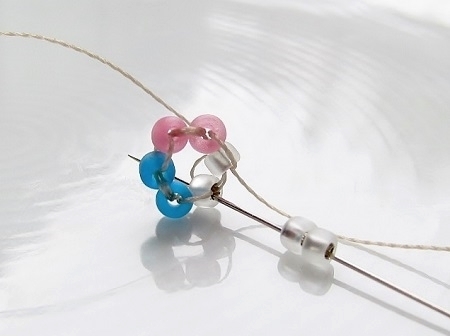
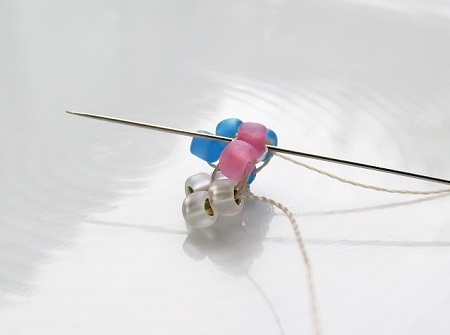
- to connect the end with the beginning go with the needle UP through the 1st bead and DOWN through the very last bead so that those beads sit next to each other and form a circle
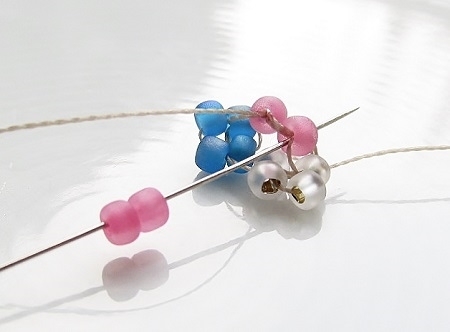
- to start the 2nd round, go back UP through the bottom of the 1st A bead
- pick up 2x color A and go DOWN through the top of the next bead in color A
- go UP through the bottom of the 1st color B
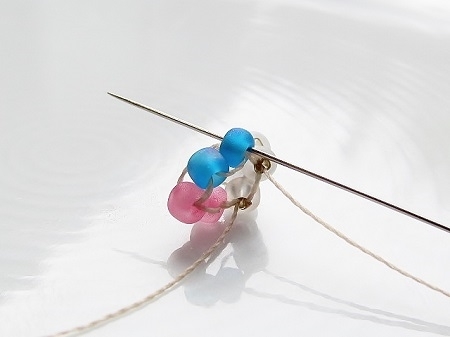
- pick up 2x color B and go DOWN through the top of the next color B

- go UP through the bottom of the 1st color C
- pick up 2x color C and go DOWN through the top of the next color C
SEE - part 2