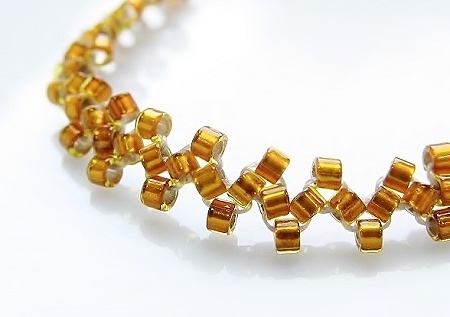
LEARN and CREATE – the “Feather” bracelet - part 2 Saturday, 8 February 2020
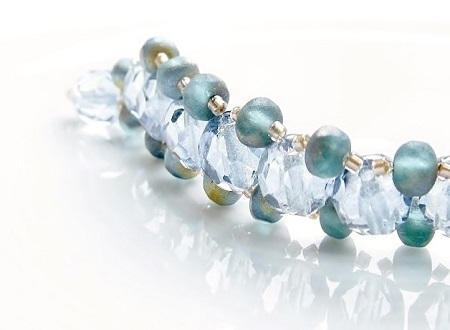
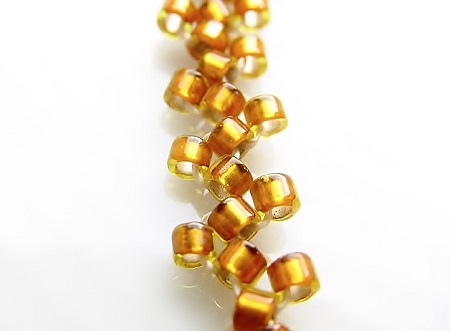
CONTINUATION: the "Feather" bracelet
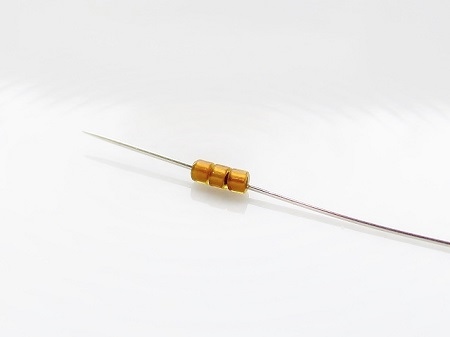
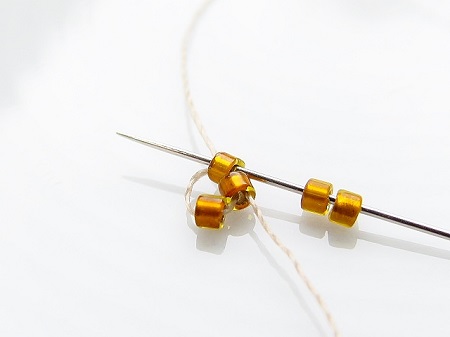
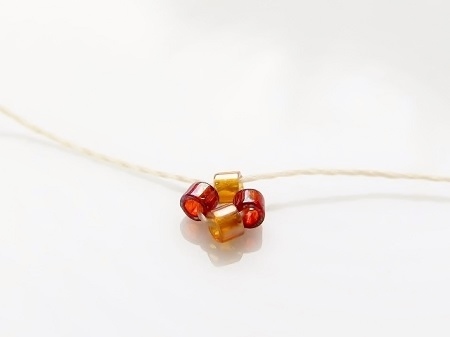
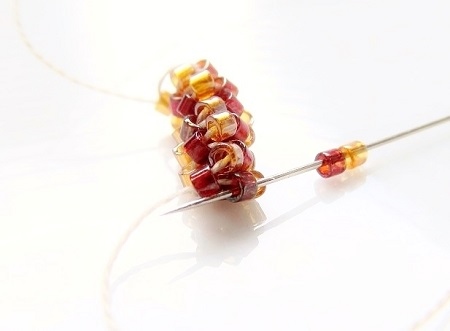
- to go to the 4th row and fill the gap, you pull the thread upwards between the beads
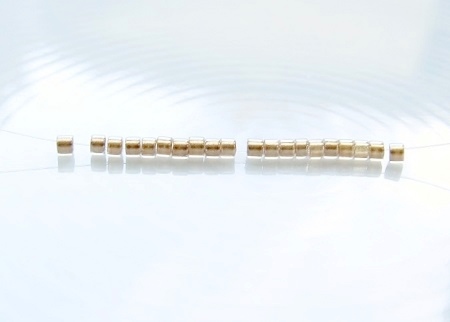
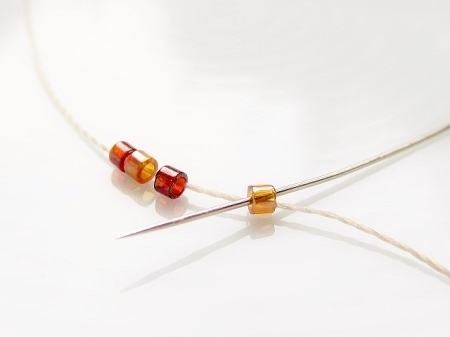
- round 4: pick up a Delica A and pass your needle through the next bead – repeat three more times – till you reach the middle
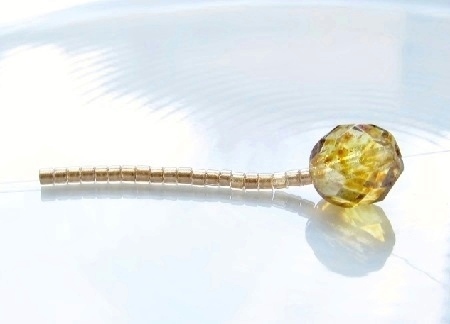
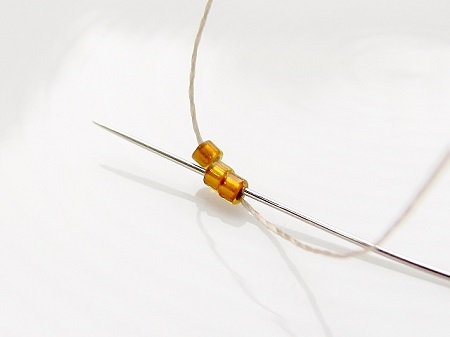
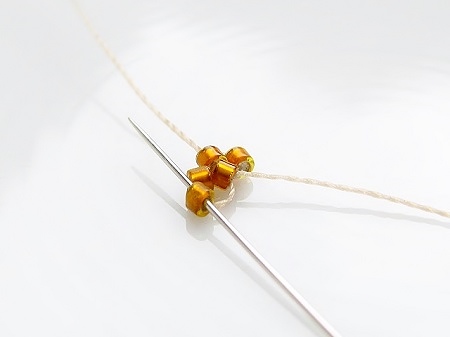
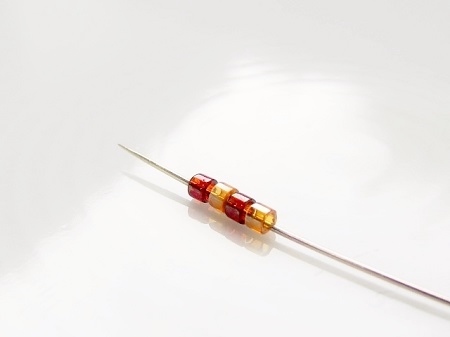
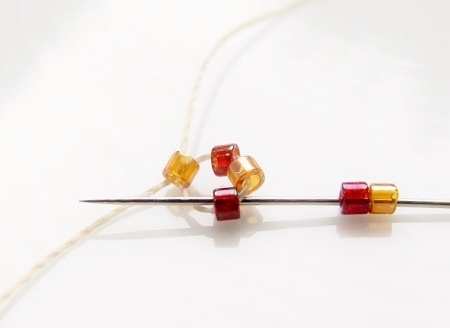
- pick up 2 beads B for the middle part and go on without skipping a bead
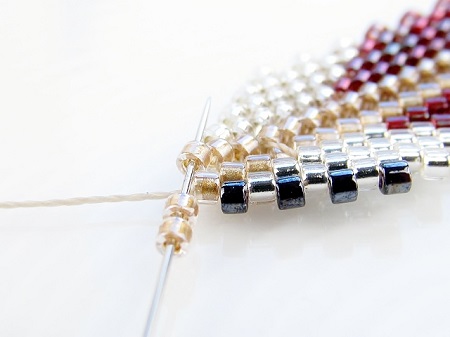
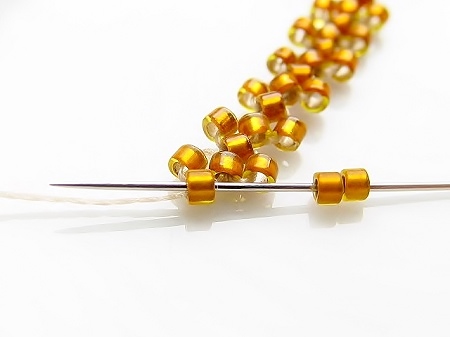
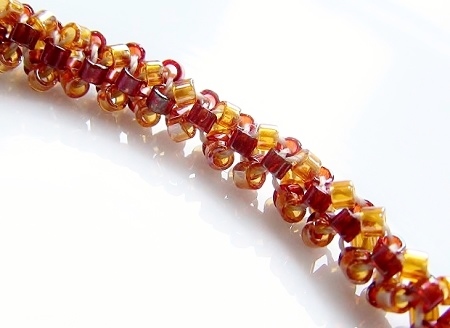
- continue the Peyote stitch in color A to fill out the next three gaps
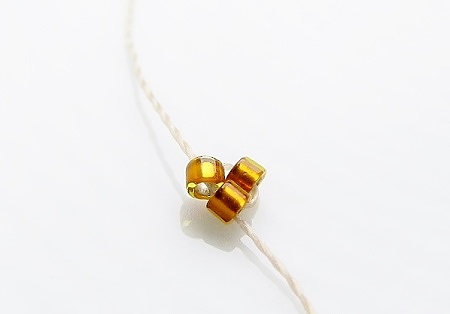
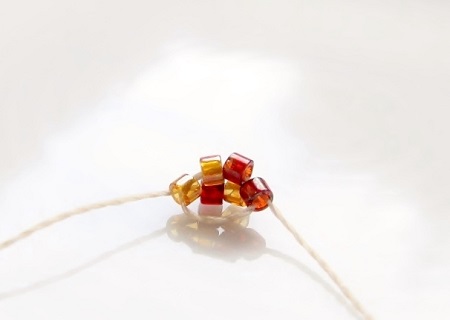
- note: in order to maintain the V-shape, you will no fill out the fourth gap at the end of each row
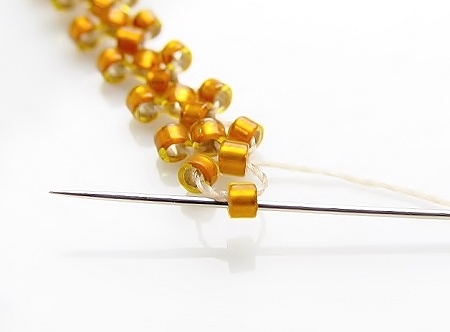
- important: each row has the same pattern – add 4 beads, 2 middle beads and 3 beads

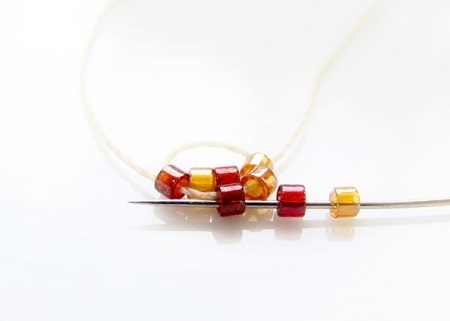
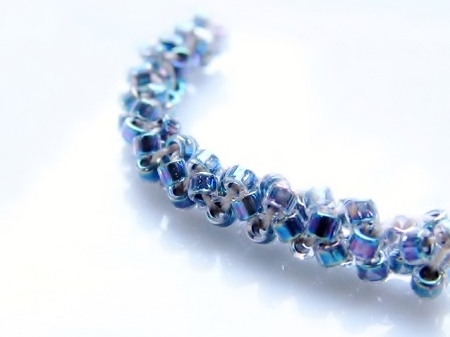
- whenever you change color, check if both sides have the same number of rounds
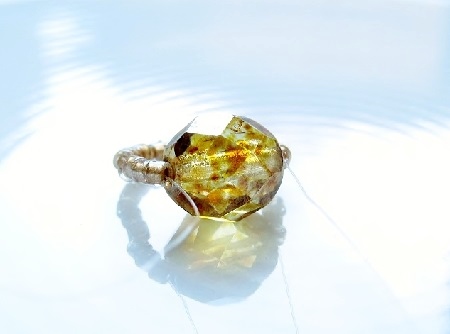
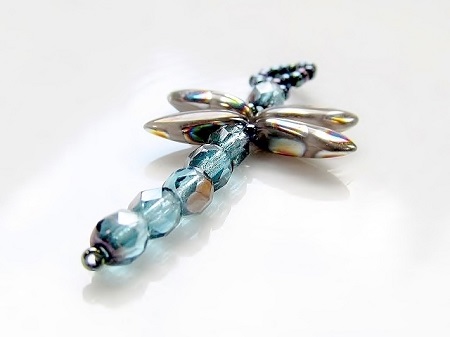
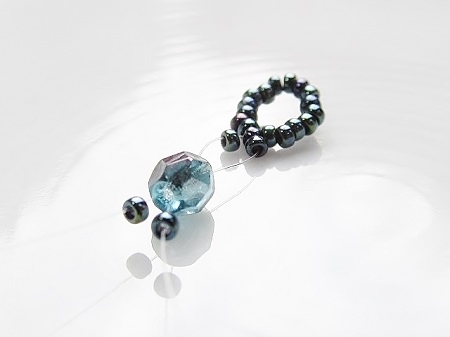
- to finish your bracelet, zigzag towards the two beads at the top of the bracelet
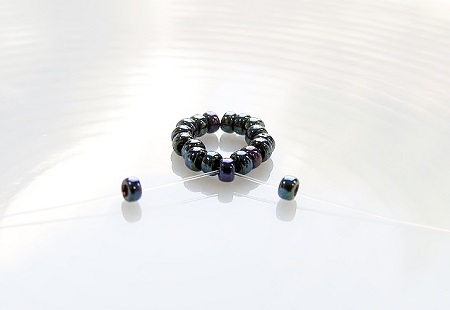
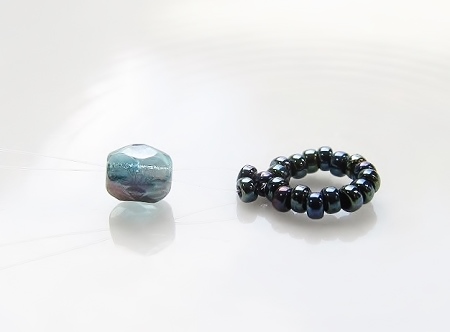
- make a small loop and add a button to it
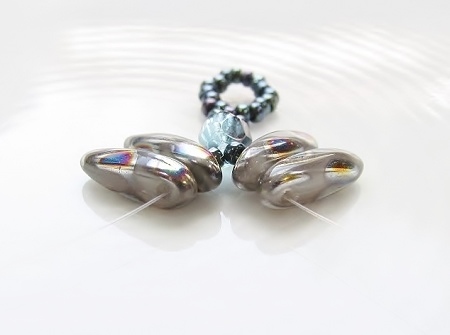
- pass your needle several times through the loop
- when finished, zigzag again through your work and cut off the thread
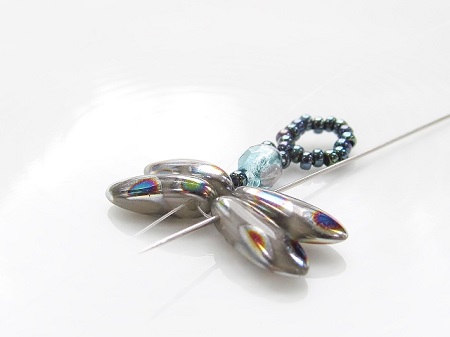
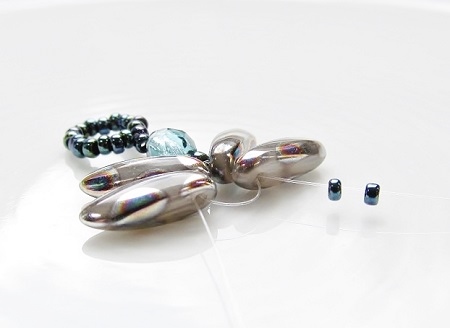
- with the tail thread add a larger loop – depending the size of your button – in between the V-shape and make several passes through it
- zigzag through your piece and cut off the thread
- … have fun !
Suggestions:
- for a wider bracelet start with 8 beads in color A, 4 beads in color B and 8 beads in color A
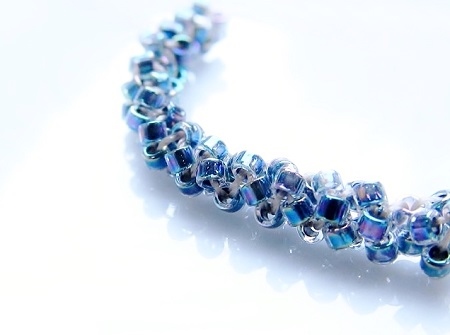
- you can make each section of the V-shape as large as you want and use as many colors as you like
- you could also keep each section in the same color, without accentuating the middle line
- and of course, you could incorporate a pattern in the sides too
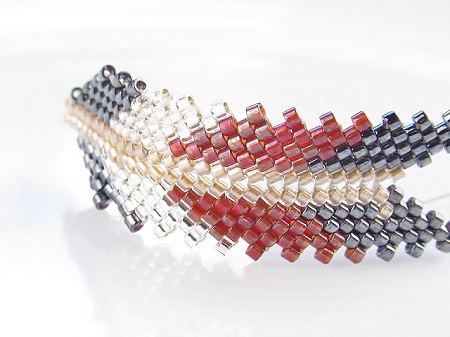
We used the following beads:
https://dunebeads.com/en/db001-delica-size-11-gunmetal-metallic
https://dunebeads.com/en/db105-delica-size-11-garnet-red-gold-luster
https://dunebeads.com/en/db041-delica-size-11-crystal-silver-lined
https://dunebeads.com/en/db907-delica-size-110-crystal-champagne-beige-sparkling-light-bronze-lined
Thank you for choosing your beads and finding @ https://dunebeads.com/en/ !
Happy day, see you soon!