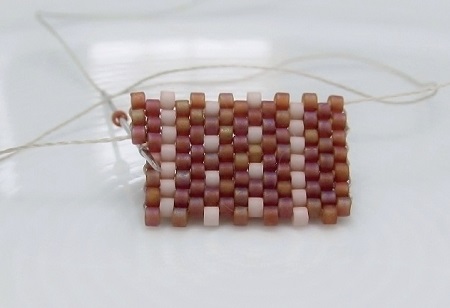
LEARN and CREATE – the flat brick stitch on a foundation of ladder stitch - part 1 Sunday, 6 May 2018
For beginners, the great thing about the flat brick stitch is that it is easy and versatile. It has in common with the peyote stitch that it stacks the beads nicely on top of each other, especially if you work with Delica beads, but it differs in the following :
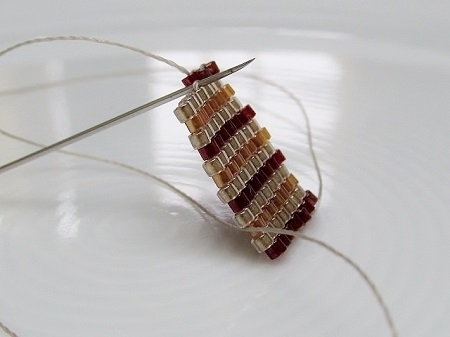
- the bead's direction is vertical, meaning the hole of the bead is vertically and not horizontally lined up
- the same stitch applies as well to an even number as an odd number of beads
- the beads are attached by weaving your working thread around the thread of the preceding row, so you do not needle through the beads to affix them
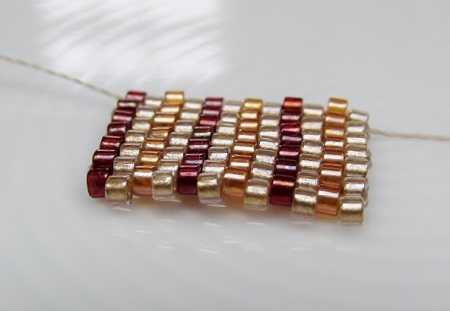
and yes, you are right in thinking that this type of “wall” of bead-bricks needs a strong foundation, that is why you start with the ladder stitch and build up with the flat brick stitch.
Do not be scared off, whether you go through a bead or beneath and around a thread, in both cases the strength of your work depends on the sturdiness of the thread.
Challenge:
- As your workpiece is held together by thread, controlling the thread tension will be paramount.
Supplies for a striped bracelet in flat brick:
- 11/0 Delica beads in 3 colors: color A, color B and color C
- OR 8/0 Japanese seed beads in 3 colors: color A, color B and color C
- needle, thread and scissors
- toggle and beading mat.
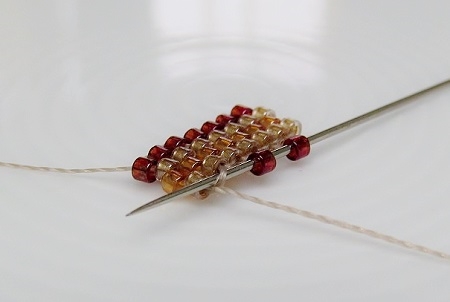
Weaving instructions for the ladder stitch:
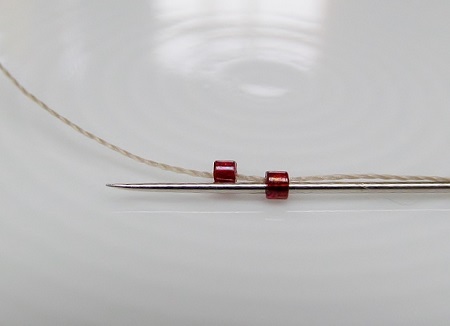
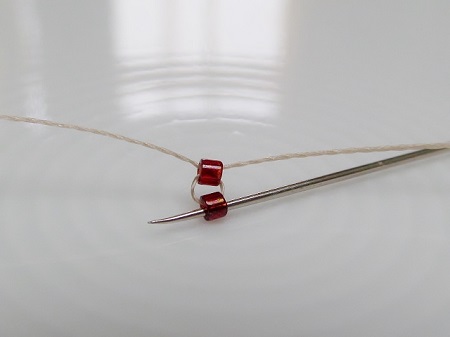
- the foundation in ladder stitch in color A: pick up and string two beads, leaving a generous tail thread to hold your work and stitch in later
- hold the two beads side by side – top and bottom vertically - and pass back through the first bead, this is the one closest to the tail
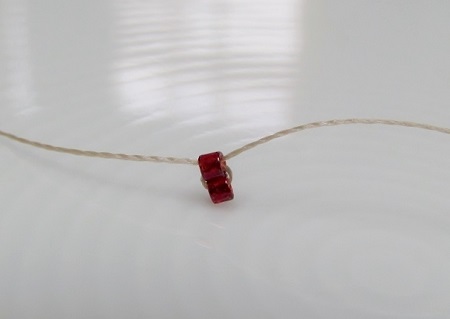
- to add a bead you have to go to the outer edge of the next bead and that is why you pass the needle down through the second bead
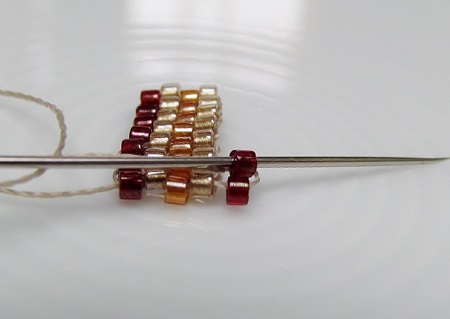
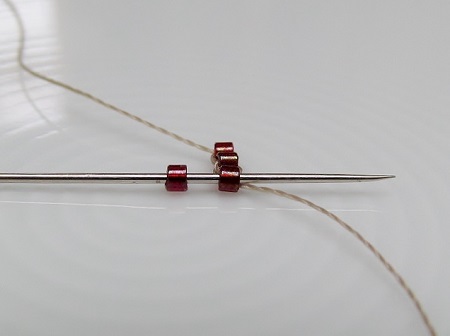
- pick up the next bead, hold the beads vertically side by side, pass the needle DOWN through the top of the previous bead and back UP through the bottom of the bead you added
- as a consequence, you are forming a circle to attach each bead
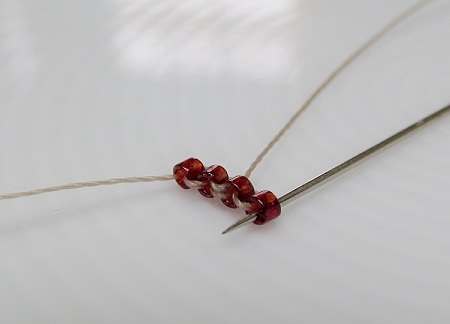
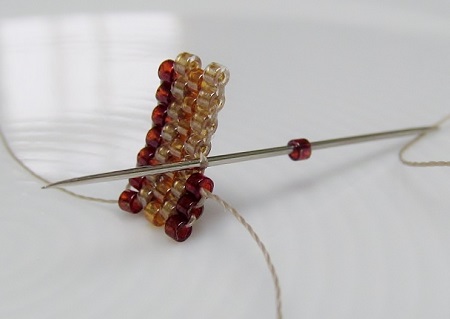
- pick up the next bead, hold it side by side to the other beads and pass the needle UP through the bottom of the previous bead and back DOWN through the top of the bead you added
SEE - part 2